How to Digitize for 3D Puff Embroidery - (Step By Step Guide)
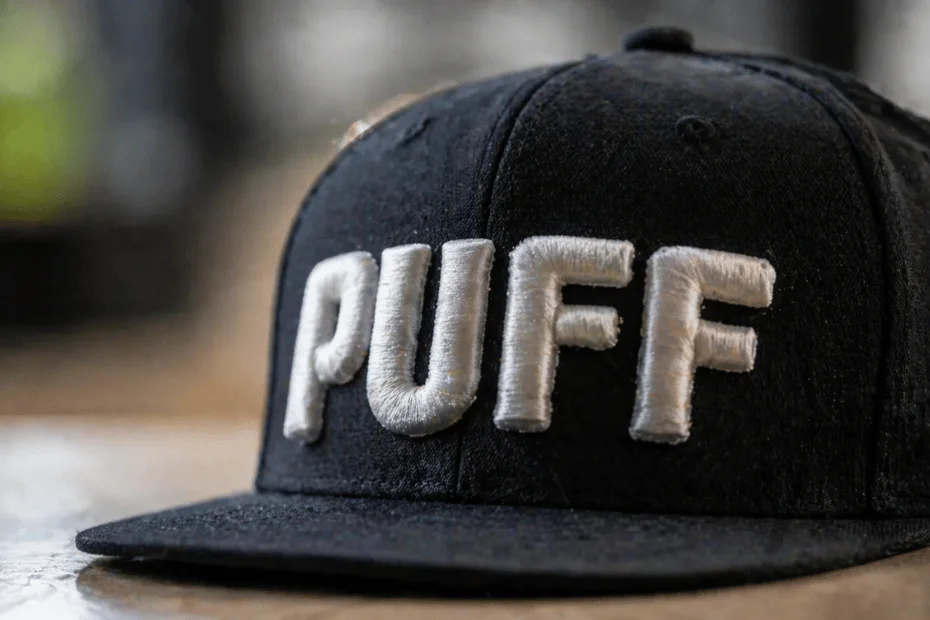
3D puff embroidery stands out with its high-quality, sculpted surface. It gives the logo and letters a bold and chic look that simple stitching cannot achieve. Most of the companies hunt for "how to digitize for 3D puff" and end up with clusters of processes.
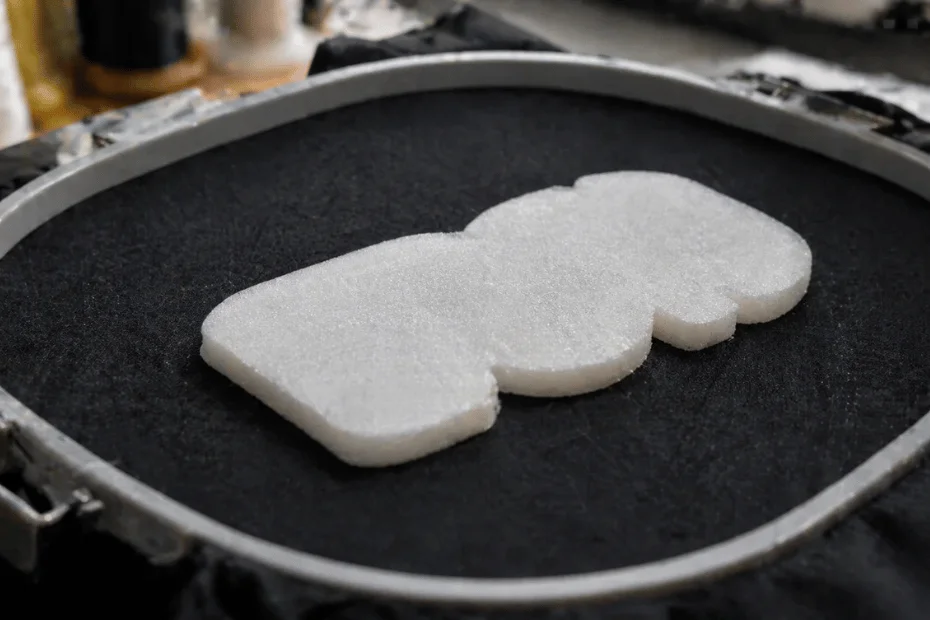
The entire process involves placing the embroidery foam on top of the fabric before starting the stitching. As the needle penetrates into the foam, it creates holes.
Once the embroidery is complete, the excess foam is torn away and only the foam beneath the stitched area remains.
3D puff embroidery digitizing is a specialized embroidery technique that transforms flat logo designs into eye-catching artwork.
It has become popular over time for articles like caps, hats, leather jackets and promotional items. It offers a premium and professional appearance to logos beyond standard embroidery patches.
But, how do you digitize it? It's one of the trendiest questions in the embroidery business. In this blog, we will walk you through step by step, the process of digitizing 3D puff embroidery.
What is 3D Puff Embroidery?
3D puff embroidery uses a layer of foam under the satin stitches to lift the logo designs. It gives the foam a 3D rounded shape that makes it eye-catching and attractive.
It's different from flat embroidery designs, as this method makes your design pop from the fabric and makes it eye-catching and attention-grabbing.
Finally, 3D puff embroidery is perfect for:
- Bold block letters
- Sports logos
- Brand initials
- Caps
- Shorts
- Shirts
- Hats
Now let's learn about the steps for 3D puff embroidery digitization services offered by Digitizing Labs to fulfill client's requirements.

How to Digitize for 3D Puff Embroidery (Main Steps)
The process of digitizing 3D puff embroidery is time consuming. To achieve the best results, you should have all the listed things below:
- Embroidery Machine
- Digitizing Software
- Embroidery Foam
- Stabilizer
- Trimming tools
- Embroidery thread
- Test fabric
Step#1- Design Selection:
Not all designs are suitable for 3D puff embroidery. If it's a logo or a graphic, ensure that it is simple enough for 3D puff embroidery.
The ideal design for 3D puff includes:
- Bold text and letters
- Simple brand logos
- Mascots and character outlines
- Team names
- Numbers
- Block letters
- Geometric designs
- Brand names
Therefore, start with clean artwork. You can remove small text or thin lines from the design. Instead use thicker shapes and keep the spacing between the elements close enough so that parts can merge when it's puffed.
If you are using raster graphics, trace it into vector format for a cleaner outline and layout.
Read More - Raster vs Vector Graphics - What's the Difference
Step#2 - Setting the Foam Layers
The quality of the 3D puff embroidery depends entirely on the overall quality. Therefore choose foam that matches the thread and base fabric material.
- Go for thinner foam (2mm to 3mm) for small objects
- Whereas, thicker foams (4mm to 6mm) for bold letters
One of the 3D puff embroidery digitizing tips is to cut the foam slightly larger than the stitch area, as while stitching, the foam usually compresses under the satin stitches.
Step#3- Digitize the Underlay and Watch for Digitizing Failure
Digitizing Labs has a team of professionals that create underlay structures for your stitches and keep the foam stable and secure. For the puff embroidery, they use:
- Edge underlay where you outline the shape for the clean borders.
- Zigzag underlay that lays the foundation of the satin stitches smoothly.
Some of the common red flags for digitizing failures are:
- Puff collapsing in the middle
- Satin stitches falling out
- Foam tearing off in the middle
To avoid these issues, you can keep the underlay light prevention from collapsing and managing the stability.
Need flawless 3D puff digitizing?
Let the Digitizing Lab handle it for you-fast and precise.
Let's ConnectStep#4 - Digitize the Satin Stitch for a Smoother Look
If you are new to the world of 3D puff embroidery, then, note that satin stitches form the top layer that hides beneath the foam. You may:
- Use 0.40 to 0.50 mm stitch spacing
- Increase the satin width by 10 to 20% as compared to flat embroidery
- Keep the satin angle following the curve of the shape for a dome effect.
Keep in mind, if you keep the satin stitches too dense, they may crush the foam instead of popping it out.
Step#5- Including Stops and Trims:
To secure your embroidery you can:
- Add a stop after each puff area so you can place the foam by hand.
- Add a trim or jump before the next part to keep foam from sticking to the needle path.
- Digitize puff areas last so they stay on top of the flat design.
Step#6- Testing and Making Adjustments:
Once you have added a stop, the next step is to test-sew the design before finalization. You can look for:
- Small gaps increase satin width.
- Flattening that reduces the density
- Edge lifting that tighten the underlays
All of these adjustments will help you with small settings until the puff actually stands tall.
Step#7- Remove Excess Foam:
As we discussed before, once the entire 3D puff embroidery digitization process is done. You should:
- Gently remove the remaining foam.
- Use tweezers or curved scissors to clean the edges.
- If there are leftover bits, apply heat from a heat gun or hair dryer to shrink them away.
Step#8- Doing Final Touchups:
And we are done. You should inspect the design before moving forward with the digitization. Remove any loose threads. If required seal the back with light fusible backing.
Regular Embroidery vs 3D Puff Embroidery
Here is a quick breakdown between these two:
| Regular Embroidery | 3D Puff Embroidery |
|---|---|
| All stitches are applied directly into the fabric | Foam creates the dimension |
| The design looks flat | Raised, three dimensional creating popping effect |
| No excessive thickness is there | Bold appearance |
| Quick to be made | Premium look |
| Proficient for detailed designs | Best known for simplicity |
Applications of 3D Puff Embroidery
The most common applications of 3D puff embroidery include:
- Baseball caps and hats
- Infant shirts and shorts
- Jackets or Outerwear
- Ladies bag or school backpacks
- Promotional merchandise
Best Settings to Digitize for 3D Puff Embroidery
The expert 3D puff embroidery digitizing tips include:
- Always match the color of thread with the foam.
- Kick start the process with a simple artwork.
- Never go for low-grade materials just to save some bucks.
- Work slow, and steady to achieve excellence.
- Join communities or groups to share your ideas and learn from others.
- Maintain a record of successful settings, foam type, thread quality and machine parameters.
Common Mistakes When You Digitize for 3D Puff
Try to:
- Add too much detailing as the foam can't handle tiny shapes.
- Never dense the stitches.
- Puff areas should always be the last. Wrong stitch order will make it flatten.
- Always do a test run as every material and thread reacts differently.
Why Choose Digitizing Labs For 3D Puff Embroidery?
And we are done for the day. We hope you enjoyed learning about the how to digitize for 3D puff and the detailed discussion explaining the steps.
You can hire Digitizing Labs to get your 3D puff embroidery digitized within minutes. Yes, the team working with them proficiently manages the digitizing process. They use precise stitching angles and correct densities to maintain the puff and never let the design go flatten.