
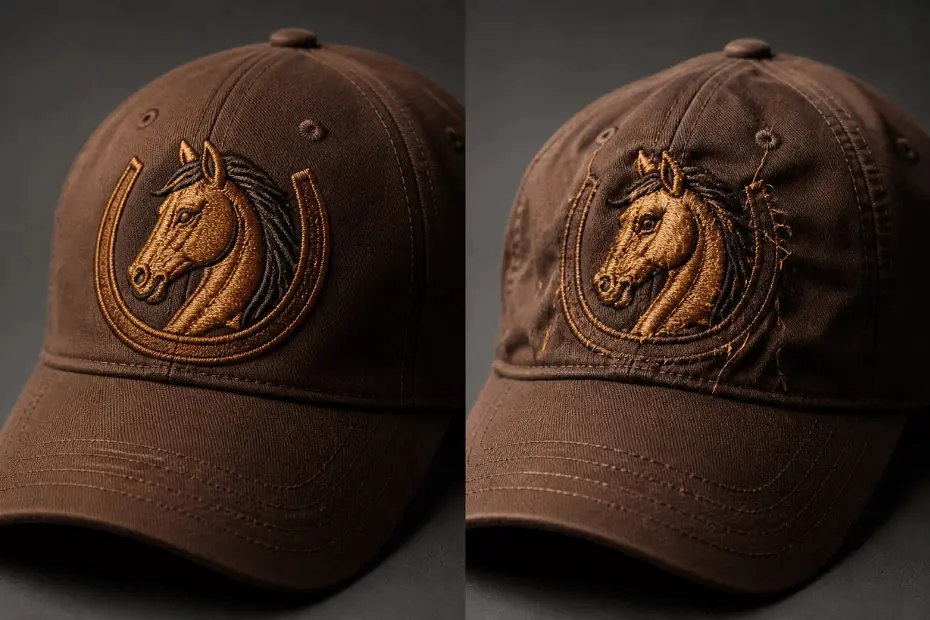
Embroidery Digitizing for Hats & Caps: Avoid These Common Mistakes
Hat embroidery can be a satisfying art for some, but the struggle behind it is really tiring. The curve surface embroidery to embroidery digitizing for hats practices can be hard to understand and then implement.
The custom embroidery digitizing for what is enriched with skills that require expertise. Any single mistake in cap embroidery digitizing can cause a great loss to the firm. If you fail to deliver the quality your clients expect from you then, they won’t recommend you to their friends and peers.
In order to prevent such problems, it is recommended to avoid some common embroidery digitizing for hats mistakes.
Mistake: Using a Flat Design File on a Curved Hat
The first and most common cap embroidery digitizing mistake is running a file that is designed for a flat piece of clothing on the inside of the cap. However, it should be particular with 6 panel caps that are designed with distinct curved surface embroidery and a flat shape that will always pull, or distort once it’s sewn to the dome.
Quick fixtures:
- The hat must be taut and secured within the frame of the cap to stop moving. You should be careful that it doesn’t stretch too much the fabric otherwise it may relax the post embroidery and will pucker.
- Using a bill as an Anchor will make sure the body of the cap is sitting securely against the frame plate.
- Always use a high quality, cut-away backing that offers solid support that the hat requires the most.
Mistake: Using Embroidery Machine at Fast Speed
If you run the embroidery machine at incorrect speed while doing center front design digitizing on cap then, it will result in poor stitch quality, misalignment and material wastage. Whereas, the operator lacking proper guidelines for adjusting the machine speed faces complexity in frame type, resulting in inefficient production.
Quick fixtures:
- Use an embroidery machine at a moderate speed; slow.
- For the usage of custom digitizing design on cap, ensure the machine is running at least 600 stitches in a minute and nearly 750 stitches per minute for the flat frame.
- If the design is complex, and detailing is minute then, you have to keep the machine speed quite slow.
- With the slowdown of the embroidery machine speed, you are easily able to control the expense by simply avoiding all the wastage by getting the right embroidery in your first instance.
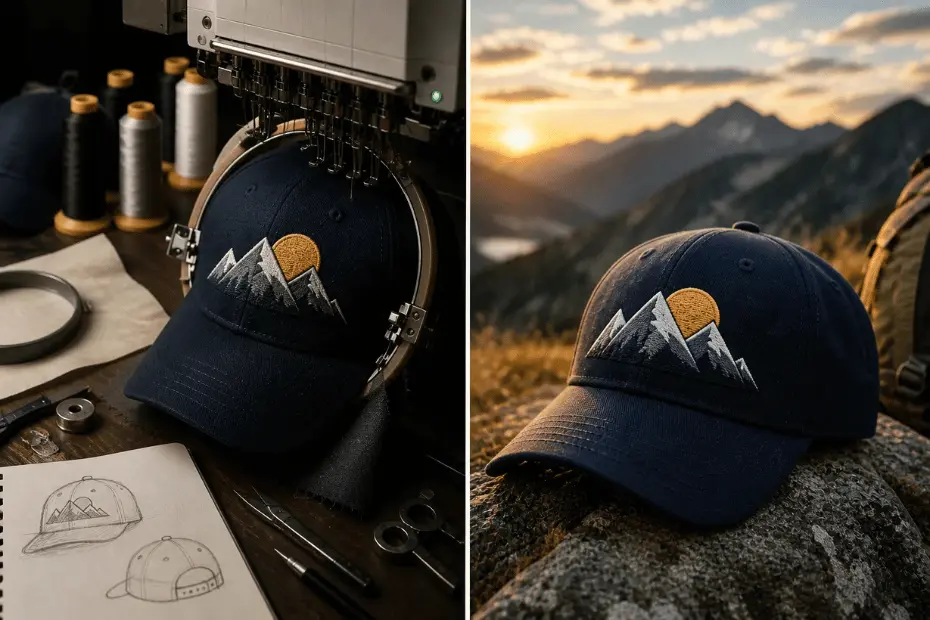
Mistake: Ignoring Thread Tension
Maintaining the tension of the thread is really important horsehair backing for hats. If it’s incorrect then, it becomes the most common reason for thread breakage and poor quality of stitch.
Keep monitoring because if you notice your machine is stopping continuously and making snapping sound then the tension is prolyl too high.
Quick fixtures:
- The “I” test while stitching enables you to see approximately ⅓ of the bobbin thread and ⅔ of the top thread on the backside of the custom hat digitizing. It creates an “I shape down the middle of the stitch.
- Make sure not to overlook the bobbin. Confirm that it maintains the correct, consistent tension—typically measured with a specialized gauge—and that it is properly seated in the case. Most experts recommend a minimum tension of 110 grams in the bobbin case to support smooth, uninterrupted cap stitching.
Mistake: Choosing the Wrong Needle
If the needle you are choosing is not of the right size or type then, it may damage the fabric. It causes excessive thread breakage, and leads to fragile stitches. A dull, and worn out needle will cause a lot of damage.
Quick fixtures:
- You can use an H-E embroidery or a ballpoint needle to make standard knit caps.
- For a standard 40-weight polyester or a rayon thread, the 75/11 or 80/12 needle is the norm. The thread with a greater thickness like 3-D puff is necessary to jump into the 90/14.
- It's recommended to check the needle every week and change it if it feels damaged or old.
Mistake: Trying to Digitize Complex Designs
Most of the beginners look into the free embroidery digitizing of caps or hats themselves to save up cost. However, amateur digitizing mostly lacks the intricate underlay, and push or pull compensator and sequencing that is essential for professional habits.
Quick fixtures:
- Outsourcing the initial design set up to professionals is the most economical solution as it won’t overburden you as a freshie.
- Hire Digitizing Labs to stand behind you and offer you the best quality stitching and embroidery services at a competitive budget.
Improper Hooping of Embroidered Products
Improper hooping while doing embroidery digitizing for hats leads to poor embroidery quality, including misalignment, distortion, puckering, and inconsistent stitch results.
Keep in mind, digitizing the hat is one of the most challenging tasks due to the curved shape and limited swing area, making the placement of the needle difficult.
Quick fixtures:
- It is recommended to use Durkee Hoops as they are easy to align, secure holding, and precise centering, resulting in improved consistency and overall embroidery quality.
Quick Comparison - Cap Digitizing with Horsehair Backing vs Cap Digitizing without Horsehair (Tearaway/Standard)
| Attributes | Cap Digitizing with Horsehair Backing | Cap Digitizing without Horsehair (Tearaway/Standard) |
|---|---|---|
| Structure | Very high; stiff backing stabilizes cap from | Moderate; depends on backing type |
| Stitch Quality | Sharp, clean and slightly raised | May sink into fabric |
| Digitizing Approach | Lower underlay | Stronger underlay |
| Fabric Distortion | Puckering | Higher risk |
| Ideal for | Detailed logos | Simple designs |
| Costing | High | Low |
Wrapping Up
The art is to master the embroidery machines, and its functionalities to manage it properly regardless of what product the embroidery is made of! You can collaborate with Digitizing labs to remove the burden of production from yourself, and get top quality, and perfectly optimized embroidered design digitized on the hats or cap both.