
Chenille Digitizing 101: Techniques for Varsity Letters & Mascots
Chenille digitizing is a creative process and ace in delivering plush, 3D textures that looks flawless and feels like velvet. The velvety textures make the embroidery look more alluring.
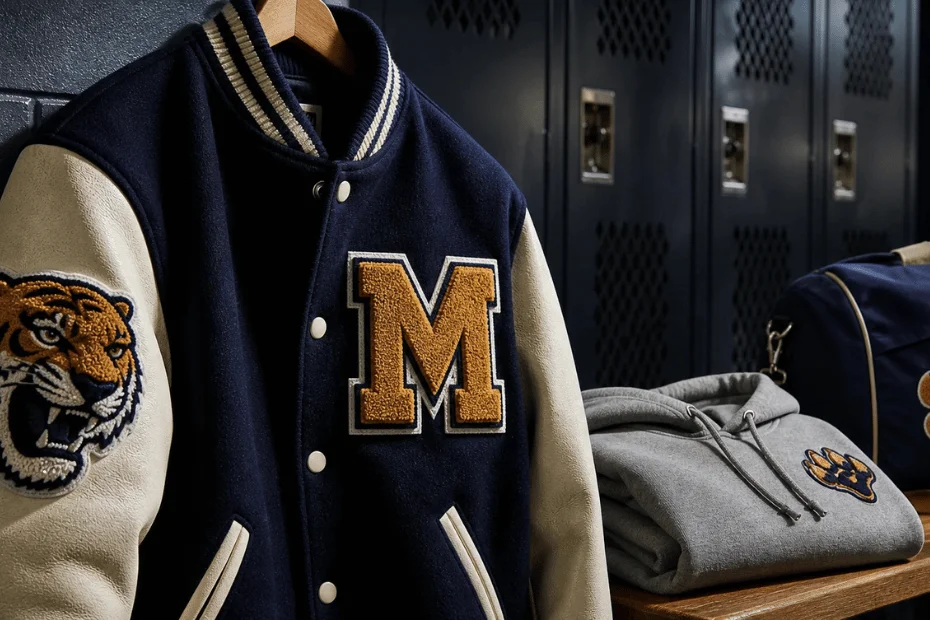
Chenille embroidery has been associated with classic varsity jackets, letterman patches, variety letter digitizing, school mascots and another premium sports apparel. Chenille embroidery digitizing comes with a bold, and fuzzy texture making it look timeless and versatile.
For businesses, sports teams and schools, chenille patches remain versatile and digitizing is way too trending these days. It helps in showcasing the identity and tradition across different products.
But creating high-quality chenille embroidery requires more than just a design file-it demands expert digitizing. In this guide, we'll cover the basics of chenille digitizing and the key techniques used for varsity letters and mascots.
In this blog, we will walk you through the chenille embroidery process, chenille patch digitizing and quick comparisons for making you learn all the dynamics.
What is Chenille Digitizing?
Chenille embroidery process leading to chenille digitizing is a creative step-by-step process of converting artwork into a machine-readable embroidery file designed for chenille machines. Don't mix it with standard embroidery as chenille uses looped yarn stitched together for creating a raised loop stitch, and soft texture that feels like velvet.
Why Chenille is Perfect for Varsity Letter Digitizing
Chenille is an ideal choice for varsity letter digitizing due to its iconic, plush and three-dimensional texture that is known as moss stitching. It has a thick, loopy yarn that is used for creating a raised towel-like texture holding large, bold designs like team logos, high school letters and more exciting things.
Therefore, it's the best choice for letterman jackets and team apparel as it offers:
- Bold 3D texture for standing out
- Classic varsity appeal with a nostalgic style
- Durability for jackets, hoodies and uniforms
- Premium look for schools, clubs and sports teams
Core Chenille Patch Digitizing Techniques
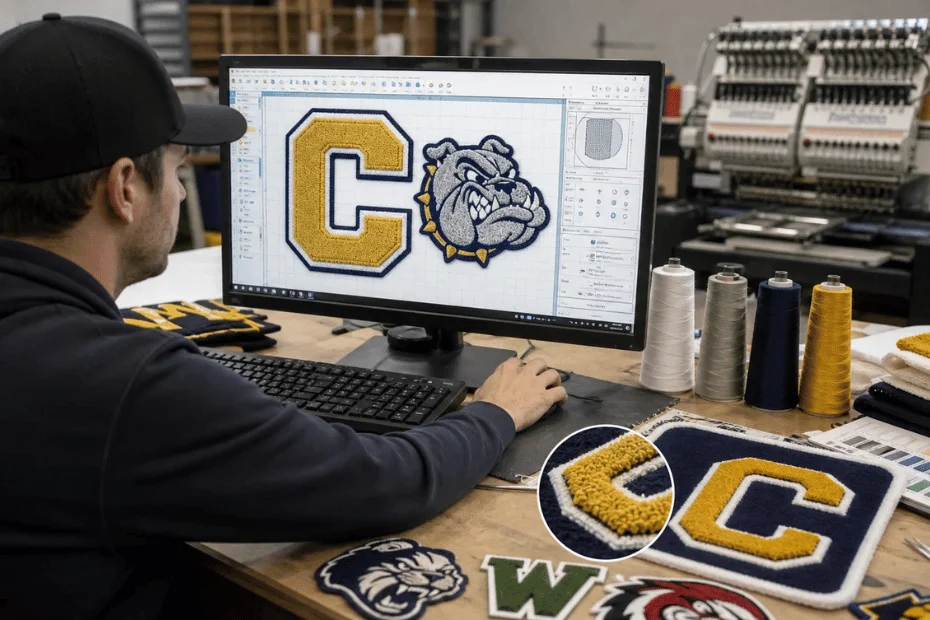
Here are some techniques for core chenille digitizing techniques:
1. Proper Shape Specifications -
Chenille is working best for bold shapes, and open spaces. It goes perfect with fine detailing, thin lines and tiny text that gets lost in yarn loops.
Whereas, talking about varsity letters then it uses thick strokes, keeping the corners clean and maintaining even spacing. Whereas, for mascots, simplifying facial detailing, using large color blocks and focusing on silhouette clarity.
2. Loop Direction Planning
Chenille digitizing is highly dependent on chenille loops that affect the textures, light reflection and designing flow. Skilled designers are aware of aligning the loops to enhance the shape and movement.
For example;
- Vertical loops for varsity letters digitizing
- Curved loops for animal faces
- Angeles fills for dynamic mascot features
3. Border Stitching for Definition
The chenille digitizing process delivers a fluffy texture, borders are way too essential for maintaining that look. Chain stitch, and satin stitch outlines help in sharpening the edges, and separating the colors.
It's known best for outer edges of varsity letters, eyes, teeth and outlines in mascot character, and internal sectors between colors.
Common Chenille Digitizing Mistakes to Avoid
Here are some common chenille digitizing mistakes that you should avoid in order to achieve a perfect texture:
1. Overly Detailed Artwork
Chenille embroidery is best suited for bold and simple designs. All the small detailing, tiny text and intricate patterns mostly get lost in the looped yarn texture, making the final patch look unclear and messy. Therefore, it's necessary to focus on this detailing while doing chenille patch digitizing.
2. Thin Lettering Strokes
The thin lines or narrow letter shapes not only hold chenille loops but cause uneven courage and make the letter difficult to read. Whereas, you should always think of using a thick, bold font for a better visibility and texture.
3. Missing Borders
Missing borders make the design look cluttered, and it's an important factor in chenille digitizing. Without satin or chain stitch outline, letters or shapes might not appear good and will look unfinished with a rough look.
4. Poor Color Separation
All the colors placed too closely without any proper spacing or outline makes the channel digitizing more absurd. It reduces the clarity and makes the design look crowded. Therefore, clean serration keeps each section of the design look distinct from each other.
5. Inconsistent Loop Direction
The loop direction affects the light reflection on the patch and how smooth the textures appear. Whereas, random or mismatched direction can make the design look uneven and unprofessional.
6. Wrong Patch Size Scaling
Most designers enlarge or shrink the design without making the correct stitch adjustment. It ruins the overall look and small patches may lose detailing, while oversized patches may look bulky or distorted. Proper resizing is essential for maintaining the quality.
Vector Conversion for Embroidery Patches
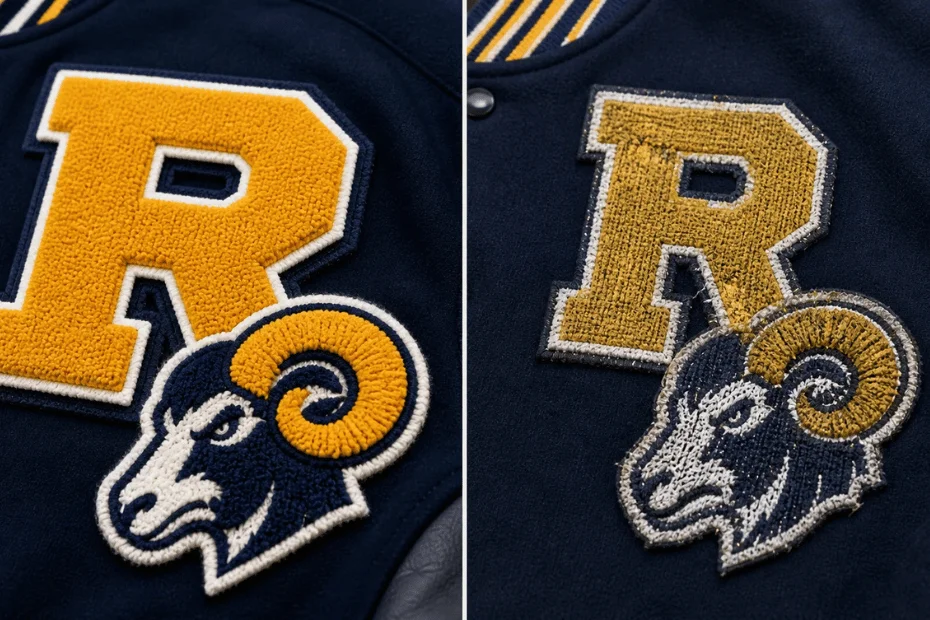
Before the chenille digitizing process, artwork was often converted into a clean vector format. The vector conversion was the best choice for converting low quality images like JPG, PNG and scanned logos into a scalable design made of smooth lines and curves.
You must be thinking, why are we discussing this so, the answer is, this point is important to be discussed as chenille embroidery requires bold shapes, clear outlines and accurate dimensions for creating a neat and fluffy velvet texture.
Whereas, talking about varsity letters and mascot patches then vector conversion helps in simplification of the complex artwork into embroidery friendly elements. The thin detailing, rough edges, and blurry text can be easily refined into solid shapes.
Chenille vs Standard Embroidery - Quick Comparison
Here is a quick comparison between chenille and standard embroidery for your understanding.
| Attributes | Chenille Digitizing | Standard Embroidery |
|---|---|---|
| Texture | Soft, raised and fluffy | Flat or slightly raised from the surface |
| Appearance | Bold and classic | Clean and sharp with intense detailing |
| Best for | Varsity letters digitizing | Logos, uniforms, caps and polos |
| Stitch type | Looped yarn stitches with chained borders | Satin, fill and running stitches |
| Thickness | Thick and highly textured | Thinner with a smoother finish |
| Fabric Compatibility | Best on heavy fabrics like jackets, hoodies, felt | Works on a wide range of fabrics |
| Detailing level | Better for simple and bold designs | Ideal for intricate designs |
Why Professional Chenille Digitizing Matters
Chenille embroidery digitizing is done on a different machine unlike the standard embroidery machines. A file is made for flat embroidery that won't run properly on the chenille machines.
Professional chenille digitizing ensures:
- Smooth production runs
- Better patch qualities
- Clean outer lines
- Reduced thread breaks
Final Thoughts - Why Choose Chenille Embroidery Digitizing?
And we are done for the day. We tried to cover up all the necessary points related to channel digitizing and its type. It is both a technical and creative process. For varsity letter digitizing, it delivers school spirit. For mascots, it delivers bold statement pieces that stand out on jackets, hoodies and bags.
When it's done right, chenille patches become more than just decoration but become a symbol of pride, achievement and identity. You can collaborate with Digitizing Lab to get your more creative varsity letters and mascot patches digitized that truly stand out from the crowd.